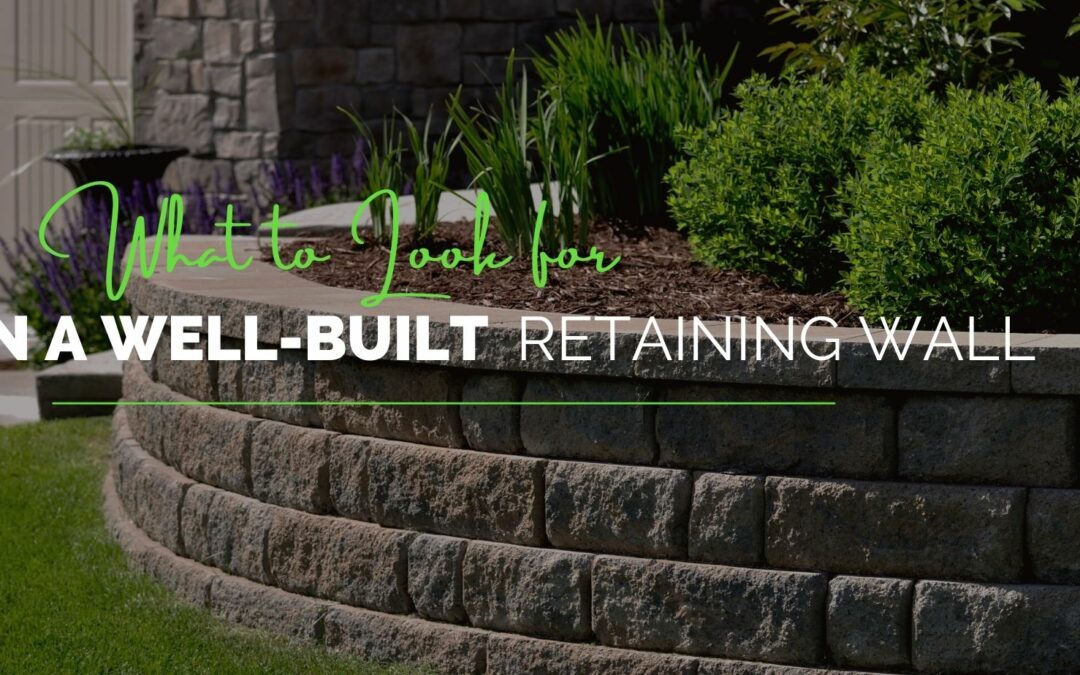
If your property has any type of elevation change, your landscape may benefit from a retaining wall. It’s important to protect your land from soil erosion, which can result in loss of topsoil, drainage problems and possible structural stability issues. Or maybe you’re just interested in defining spaces and creating focal points in your garden. Or perhaps you’d like a bit more privacy or security on your property. Whatever your reason, retaining walls can add both a beneficial and aesthetically pleasing touch to your yard.
Stackable materials
The type of materials used to create retaining walls depends on budget, the desired appearance and the functionality of the wall. Concrete blocks are very popular, especially the interlocking varieties. Bricks, railroad ties, wood planks, metal/steel plates and stones are other materials that can create interesting walls. Recycled objects like plant-filled tires or previously-used retaining wall materials are inexpensive options.
Building the wall
In areas where retaining walls need to be higher than three or four feet, a professional contractor should be hired and proper permits and/or HOA permission obtained before building. Otherwise, it is possible to build a retaining wall as a DIY project. However, a poorly-constructed retaining wall will not only look bad, but it can crack, bow or even collapse. It must be placed in a proper location, built with a strong, level foundation and given good drainage ability. Hiring a licensed, insured and bonded contractor certified by MCAA or NCMA to build a professional retaining wall can ensure that the job is done right.
What it involves
Once the ideal location is identified and it has been confirmed that no underground utilities are in the area, a proper foundation (or footing) must be created. This involves digging a trench at least as deep as the width of the wall and twice as wide. The importance of a level, well-prepared footing cannot be overemphasized.
The first row (or course) of the wall is laid on top of a tamped down 2- to 3-inch base of gravel. Additional gravel is added to the area between the wall and soil and tamped down as each course is added. Staggering blocks adds strength to the structure and eliminates the need for adhesive between the building materials. Double-checking the level as each course is laid keeps the wall from becoming lopsided.
Because moisture builds up behind retaining walls and dramatically increases the pressure on the wall, adding a drainage pipe is important. A flexible, perforated, corrugated pipe covered with a drain sleeve to keep out sediment should be inserted behind the wall after the first course is laid. The ends need to extend around the sides of the wall to allow water to drain.
The area between the wall and the soil should be backfilled with tamped down gravel almost to the top of the wall then sod or topsoil or other landscaping features can be used to top it off. A top layer of capstone blocks with a slightly overhanging edge can add a polished touch and even provide a place to sit if the height of the wall allows. With careful planning and execution, a sturdy retaining wall can be a beautiful addition to your property.

